Bronze statue, an art form with a history spanning millennia, transforms raw metal into enduring expressions of human creativity. The bronze statue process is a complex symphony of artistic vision, meticulous craftsmanship, and metallurgical science. This guide details each step, from initial concept to final patina.
Phase 1: Conception and Design
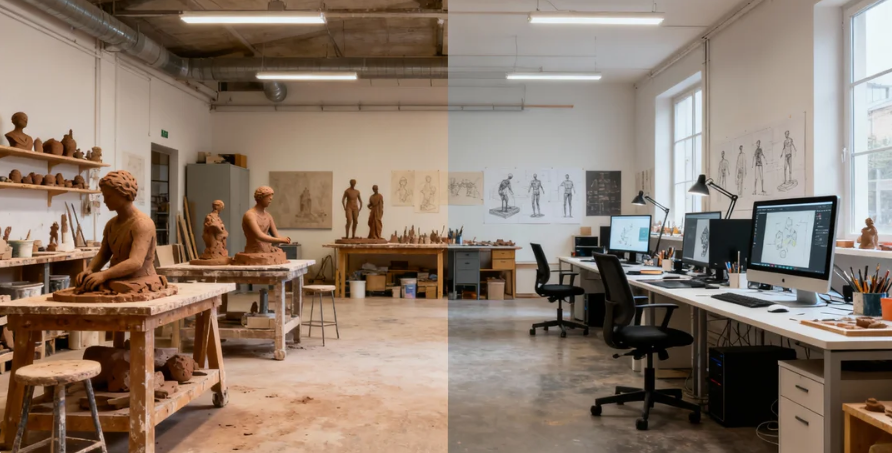
Every bronze sculpture begins with an idea. The artist translates this concept into a tangible form through sketches, digital models, or small-scale studies (maquettes). This stage involves resolving composition, proportion, and the engineering considerations of the final piece, such as weight distribution and structural integrity. The design must account for the realities of the casting process to ensure the vision is achievable.
Phase 2: Sculpting the Original Model
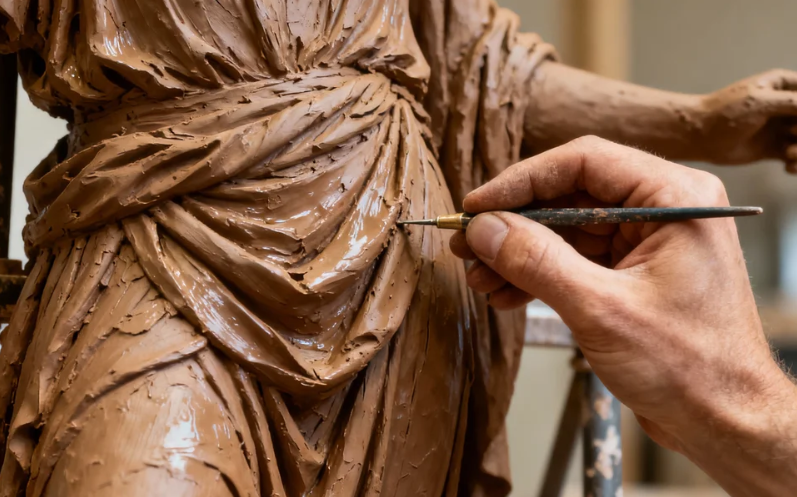
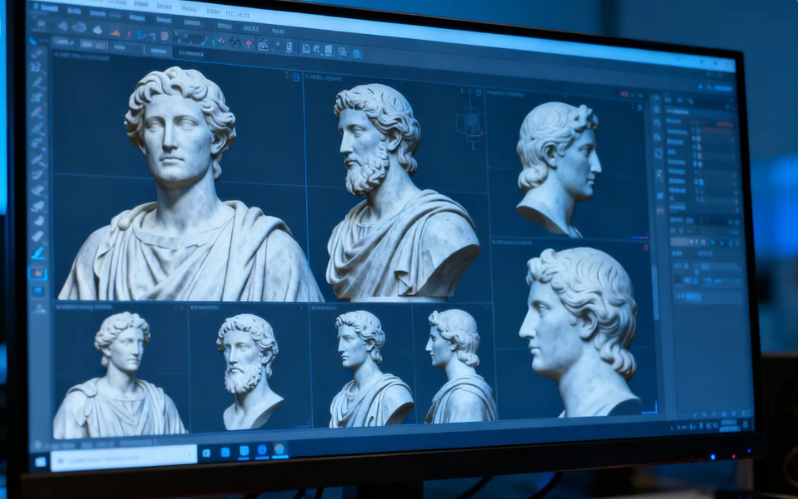
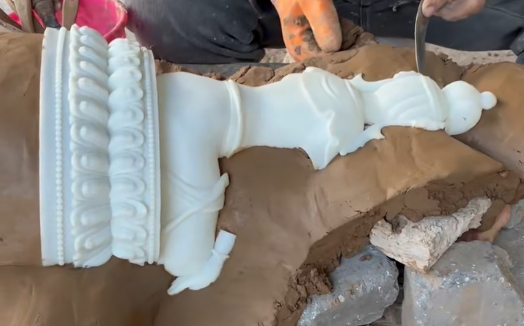
Using the design as a blueprint, the artist creates the full-scale original model. The most traditional material is oil-based clay built over a rigid armature (a skeletal frame of metal and wood) that provides internal support. This allows the artist to freely model forms and refine details. Alternatively, modern practitioners may use water-based clay, wax, or even sculpt directly in digital software for 3D printing.
Phase 3: Moldmaking
To replicate the original model for casting, a flexible mold is made. For complex sculptures with undercuts, a silicone rubber mold is standard. Liquid silicone is brushed or poured over the original to capture every minute detail. This flexible “skin” is then supported by a rigid mother mold (often made of plaster or fiberglass) to hold its shape. For simpler forms without undercuts, a waste mold made directly of plaster may be sufficient and more cost-effective.
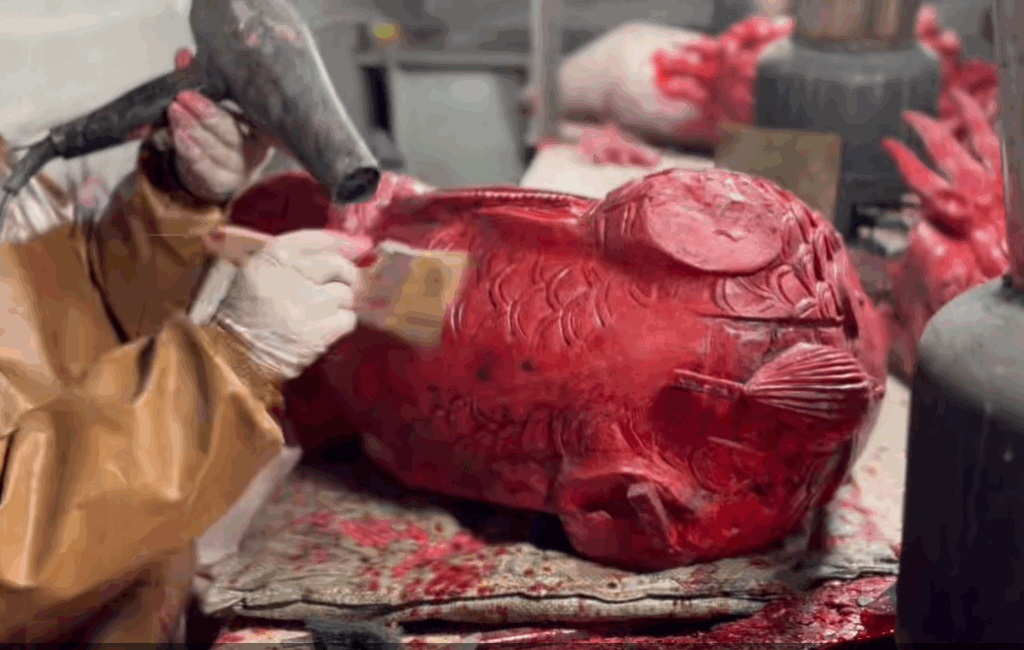
Phase 4: Creating the Wax Replica (The “Lost Wax” Core)
Molten modeling wax (a special blend with low shrinkage) is poured or slushed inside the cleaned mold. Once cooled and solidified, the mold is opened to reveal a hollow or solid wax replica that is an exact duplicate of the original clay sculpture. This wax is then meticulously chased: seams from the mold are removed, surfaces are refined, and any imperfections are repaired with hot tools. The artist may add even finer details at this stage, as wax is easier to carve than clay.
Phase 5: Spruing and Gating
Wax rods, called sprues, gates, and vents, are attached to the wax replica to form a complete wax “tree.” This critical engineering step creates channels for molten bronze to flow into, air to escape from, and extra metal to feed the sculpture as it cools and shrinks (these reservoirs are called risers). The design of this system is crucial for a successful, defect-free pour.
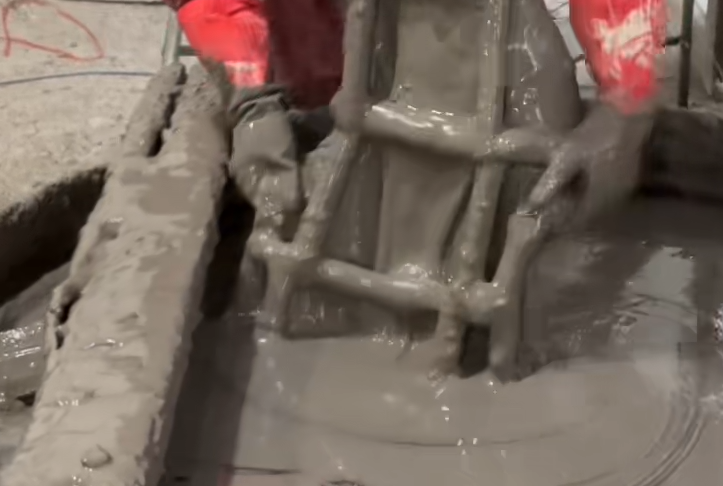
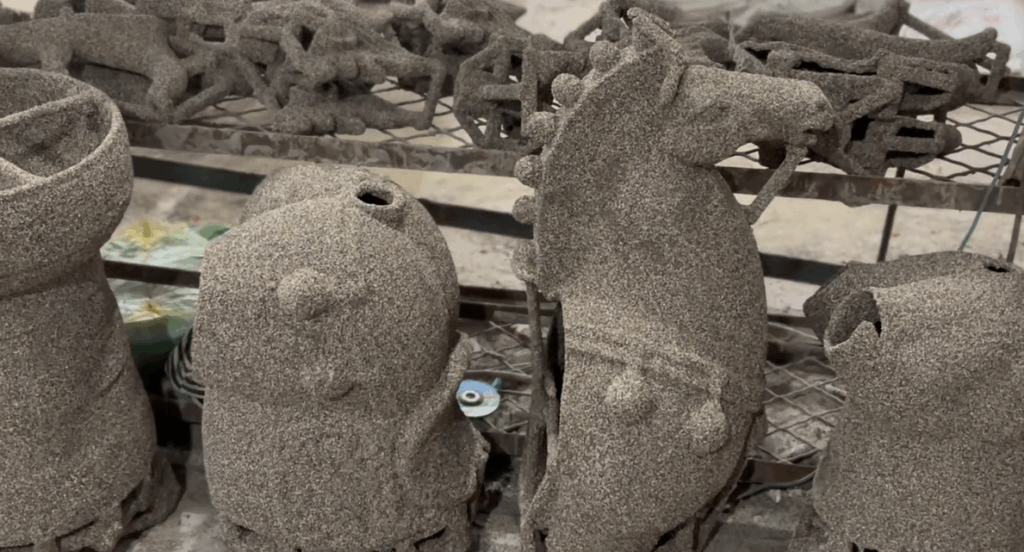
Phase 6: Investment (Creating the Ceramic Shell)
The wax assembly is repeatedly dipped into a liquid ceramic slurry (a mix of fine silica and binder) and then coated with layers of coarse silica sand or stucco. This process is repeated 6-10 times, building up a thick, heat-resistant ceramic shell around the wax. This is the investment mold. For larger, simpler forms, an alternative method is sand casting, where the wax replica is pressed into specially bonded sand to create a one-piece mold.

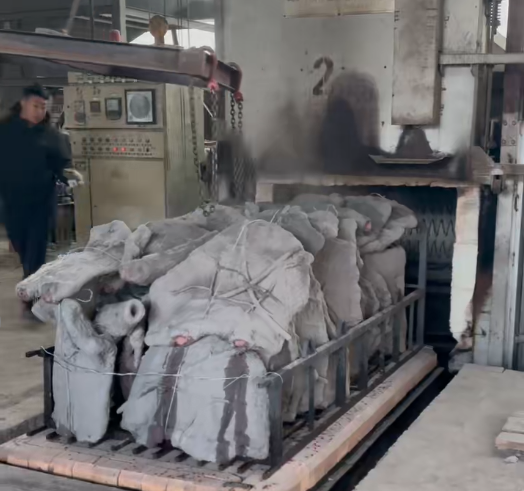
Phase 7: Dewaxing and Firing
The invested mold is placed in a high-temperature kiln or autoclave. The heat melts out all the wax (this is the “lost” in “lost wax casting”), leaving a hollow cavity in the shape of the original sculpture. The ceramic shell is then fired at an even higher temperature (around 1500°F/815°C) to cure it, burn out any residual wax, and make it ready to receive molten metal.
Phase 8: Melting and Pouring
Bronze alloy (typically 90% copper, 10% tin) is melted in a crucible within a furnace, reaching temperatures above 2000°F (1100°C). The glowing ceramic shells are removed from the kiln. The molten bronze is carefully poured from the crucible into each hot shell in a single, continuous stream to ensure the metal fills every detail before solidifying.
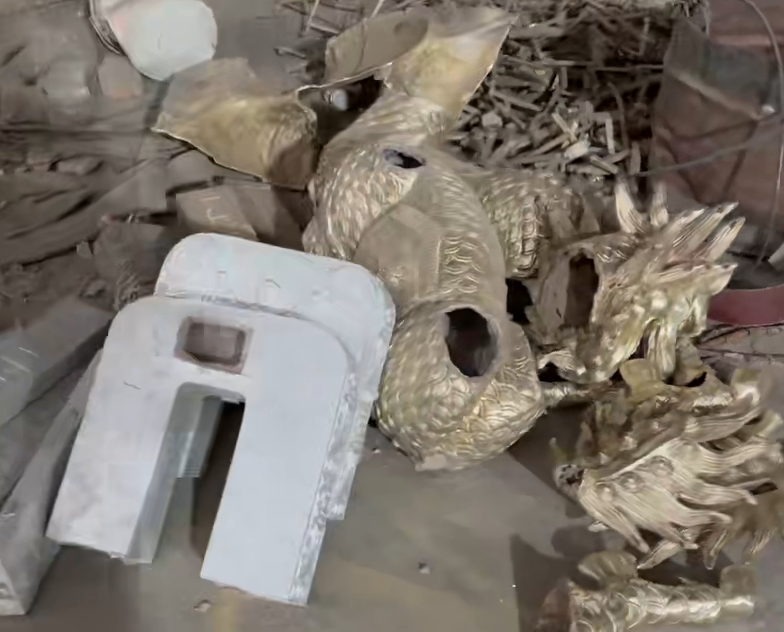
Phase 9: Divesting and Cleaning
After the bronze has cooled completely, the refractory ceramic shell is broken away with hammers and tools—a process called divesting. The network of metal sprues and gates (now solid bronze) is cut off (removed) using saws and grinders. What remains is the raw bronze sculpture, covered in a rough surface of oxidized metal and remnants of the shell material.
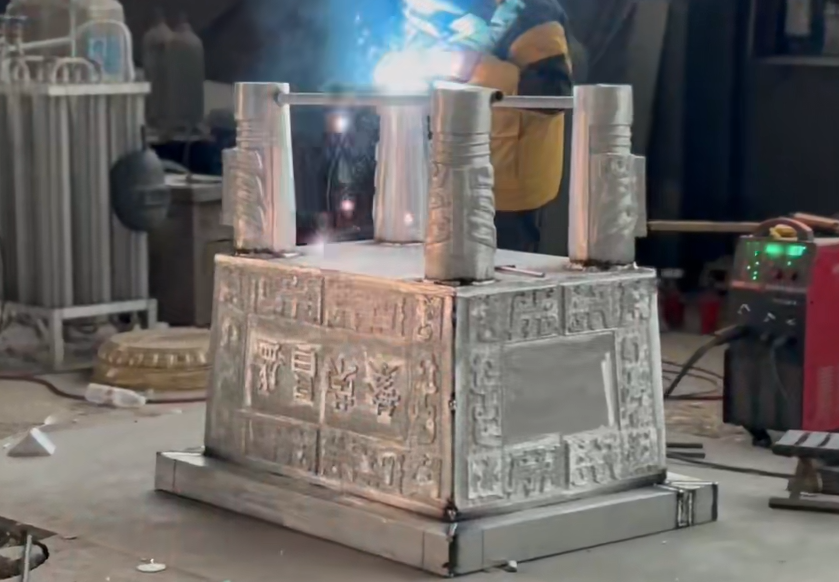
Phase 10: Metal Chasing and Assembly
Artisans, called chasers, use a variety of tools—power grinders, files, sanders, and small pneumatic chisels—to meticulously remove all evidence of the sprues, weld seams, and surface imperfections. This metal chasing process can take as long as the original sculpting. For large works cast in sections, the pieces are carefully aligned and permanently joined using TIG welding with bronze rod, and the welds are chased to be invisible.
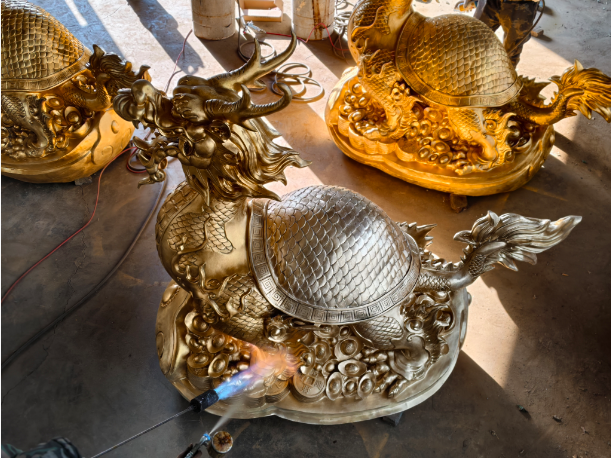
Phase 11: Patination and Finishing
This is where chemistry becomes art. The cleaned bronze is heated with a torch, and various chemical compounds (ferric nitrate, cupric nitrate, ammonium sulfide, etc.) are applied by brush or spray. Heat and chemical reaction create colored metal oxides on the surface—the patina. Artists control this process to achieve effects ranging from classic verdigris (green) to deep brown, black, or even vibrant blues and reds. Finally, a protective layer of wax or clear lacquer is applied and buffed to seal and enhance the patina. This the last step of bronze statue process .
This journey from pliable clay to enduring bronze encapsulates a unique fusion of artistic passion and ancient craft, resulting in a timeless object that carries the mark of both fire and human hand.That is all steps about the bronze statue process.